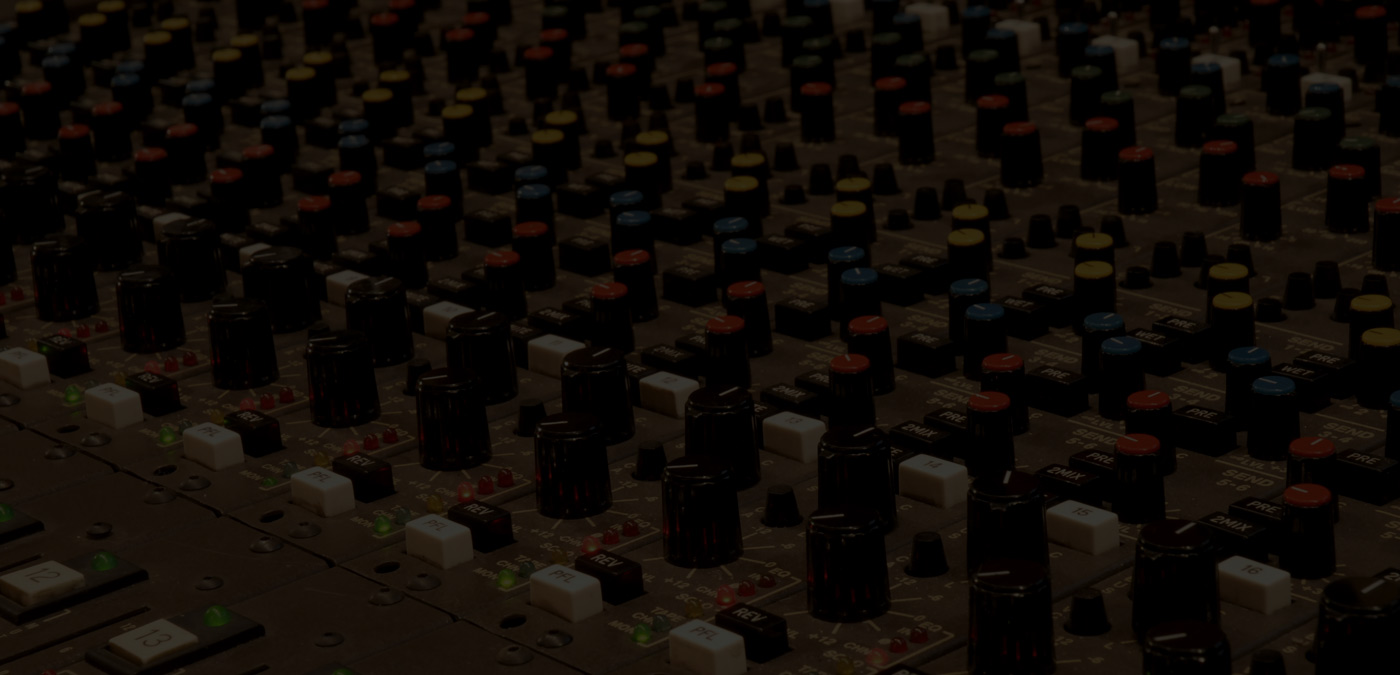

Why should I get my music mixed and mastered ONLINE by RealSound Studio?
Mixing and mastering in a pro studio is the best decision you could ever take to bring your music to the next level. Analog equipment, alongside control room acoustic and sound engineer experience are the most underrated but essential elements to get a great mix done. Quality, depth, wideness and sonic punch. This is what you need to make your music sound PROFESSIONAL. With our online services, this achievement is just a few clicks from you! You just have to send your tracks over and we’ll do the rest. Professionally.
How do I send you the files?
You can easily upload all the files on our server:
REALSOUND SERVER
For each song, it is advisable to zip its files in a single folder (.zip or .rar)
In case of very big projects, or full length albums, you can send a USB memory stick or an external hard drive to our postal address:
RealSound Studio
Strada in Villa, 2 Mattaleto
43013 Langhirano
Parma
Italy
What audio format shall I use to send my tracks over?
We accept both WAV and AIFF audio formats.
We recommend the following quality specifications: Sample Rate 48 kHz, Bit Resolution 24 Bit
If you record your tracks with Pro Tools, you can send us the whole song session.
If this is the case, we ask you to save a copy of your PT session, with its audio files and fade files, using the Save Copy In command. This will allow you to specify the session file format, audio file format, bit depth and sample rate for the session, as follows:
1. Choose File > Save Copy In.
2. In the Save Session Copy dialog, choose a destination and type a name for the new session file.
3. IMPORTANT: Choose the Session File Format (Save As Type): Pro Tools 7.x -> 9.x Session (.ptf )
4. Set the Audio File Type for the copied session, selecting BWF (.WAV) or AIFF.
5. Set the session Sample Rate (48kHz) and Bit Depth (24 Bit) for the copied session.
If you do not record with a Pro Tools sequencer, then you’ll have to export and send us every single track of the song.
How do I export my tracks?
Every track needs to be exported at timing zero of your project, which means from the very beginning of your recording session to the end of the actual recorded audio signal.
So, for instance, if there’s a gap of 10 seconds silence between the beginning (timing zero) of your project and the start of the recorded track, you’ll need to include those 10 seconds in the exported track. If the next track has a gap of 30 seconds, you’ll have to include those 30 sec as well. And so on…!
This is crucial to keep all the tracks in sync with each other (no matter what DAW you used to record the tracks) and make them suitable for our processing.
How do I rename the tracks?
It’s always better and advisable to rename tracks in the same way, in order to easily identify which instruments or parts they refer to, as well as making your projects consistent with each other. Most important, this will allow faster and smoother communication between you and our team (eg. when in need of pointing out parts or tracks to process).
Here follows an example of properly renamed tracks:
DRUMS
Kick
Snare Top
Snare Bottom
Tom1
Tom2
Tom3
Hit Hat
Overhead L (Left Panoramic Cymbals)
Overhead R (Right Panoramic Cymbals)
XTR_Ambience L (Additional Left Ambience Mic)
XTR_Ambience R (Additional Right Ambience Mic)
BASS GUITAR
Bass (microphone track)
Bass DI (D.I. original track)
GUITARS
Guit1 L (microphone track)
Guit2 R (microphone track)
Guit1 DI (D.I. original track)
Guit2 DI (D.I. original track)
Lead Guit1 L (microphone track)
Lead Guit2 R (microphone track)
Lead Guit1 DI (D.I. original track)
Lead Guit2 DI (D.I. original track)
Solo Guit (microphone track)
Solo Guit DI (D.I. original track)
VOCALS
Vox Main1
Vox Main2
Vox Main3
BACKING VOCALS
Backing Vox1
Backing Vox2
Backing Vox3
ORCHESTRATION & KEYBOARDS
Violin 1
Violin 2
Cello
Harp 1
Harp 2
Synth 1
Synth 2
How long is it going to take to get my mix done?
3 weeks is the average timing for delivering the mix of a single track, or a small EP.
For further information and more specific arrangements (especially for full album productions) do not hesitate to contact us at info@realsoundstudio.it .
Our team is ready and willing to suit your requirements.
How can I be fully satisfied with the mix?
Our main concern is the customer satisfaction, always. Therefore we develop our production through the following stages:
· We do accept advices and sound references before starting the mix, as guidelines for the job.
· We realize a Test Mix of the first song, which will have to be listened and approved by the costumer.
· Once the Test Mix has been approved, we proceed with the mixing of the remaining songs. The entire batch is then delivered to the costumer.
· At this point, the costumer is allowed the time he needs to listen to the songs and provide us with a detailed revision list of the mixes. The mixes will be reviewed accordingly to this list.
This first review is free of charge and the customer revision list needs to contain detailed descriptions (including the precise timing spot) of the changes required.
Examples: Lead Guitar 1, from 1:33 to 1:41, turn up the volume of the riff.
Vox 1, at 2:50, add more reverb on the word “amazing”.
Useful recording advices.
Obviously, the best thing (for your music) would be to record the songs with someone who has the experience, the equipment and the suitable environment in which to do it.
If you decide to record the songs by yourselves, the main rule is to DO AND KEEP THINGS AS SIMPLE AS POSSIBLE:
– Do not use ten microphones just to try recording techniques you may have never even tested before…
– Do not soundproof the recording room entirely. It would “dampen” the sound too much.
– Avoid capturing sound from other instruments, as much as possible. Example: If you record drums, point the snare microphone so that it won’t face other parts of the drumkit nearby, such as hit-hat or kickdrum…
WHAT TO DO:
· Always try to record along with a click track, which will make your performance much more consistent and therefore easier to edit.
· Always and regularly check the tuning of your instrument, throughout the recording session. You don’t want a great performance to be ruined by an out of tune string!
· Always use new drum skins and instrument strings.
· Always check your instruments and amplifiers full efficiency in advance. (Do not wait to start recording and realize your amp is not working properly!)
· With guitars and bass guitars, always record 2 tracks of the instrument: a microphone track and the D.I. track.
The D.I. track is the direct (dry) signal of the instrument. This track can be used to achieve the “Reamping” of the instrument itself, in case the original microphone sound shouldn’t be good enough or shouldn’t fit with the mix for whatever reason.
WHAT NOT TO DO:
· Avoid digital clipping, which means that the amplitude (volume) of the recorded signal should never exceed the 0dB limit of the digital domain. If this limit is exceeded, the signal above gets destroyed and lost, along with the quality of the sound.
· Avoid extreme humming, buzzing and whatever other noise that could interact or damage the quality of the instrument sound. If there’s a noise which you can’t get rid of, try to reduce it as much as possible so that it won’t be too noticeable and reasonably hidden underneath the instrument sound.
· Do not use massive compression while recording, as this would cut down the natural dynamic of the instrument. If compression is necessary, keep it as subtle as possible and just to avoid clipping of the signal… you can always apply heavier compression during post-production (mixing), which is a wiser and more advisable solution.
· Do not apply effects (such as delay, reverb, chorus, etc) when recording D.I. tracks. If you can’t avoid doing it, then make sure to record an additional D.I. track, with no effects.
(The only exception to this point could be the Wah-Wah pedal, just because of the way the musician utilizes it during the performance, unique and not replicable in post-production.)
At the end of recordings it is very important that you check the timing and achieve a detailed EDITING of your performances. For a professional result, this process needs to be scrupulously well done, so that all notes/chords will be perfectly aligned to the timing grid of your recording session. Please avoid to send tracks which contain “clipping” due to cut and paste processes. When clipping happens in your tracks, you can apply cross-fades (nowadays every sequencer has this editing tool), in order to smooth the transition in between the edited parts and remove the clipping.
What’s included in the package.
The “Mix & Master ONLINE” service will include:
· Test Mix for approval (as already mentioned above).
· Possible “re-sampling” of drums, through professional samples.
· Possible “re-amping” of guitars and bass guitars, through a selection of the best amps available.
· Obviously, the Mix and Master of the songs.
· The first review of the Mix is for free.
· Final files will be delivered as standard WAV and Mp3 (HD) audio files.
The MAIN editing of the instruments is not included. If it turned out to be needed, we could do it for you by charging an extra hourly rate of 35€ per hour.
An extra 85€ charge is required to deliver the Ddp Master (for CD printing process).